How to monitor spam blocklists in GuardYak
If your mail server's IP address or domain lands on a spam blocklist, your email starts going to junk folders. A blocklist check looks the address up on the common DNS blocklists and alerts you as soon as it is listed.
Before you start
- A GuardYak account (every check type is available on the free plan)
Plays silently with captions; the narrated version is on its way.
Transcript
Find out the day your mail server lands on a spam blocklist. Here's how to monitor blocklists in GuardYak.
Start a new check and choose Blacklist.
Name the check, then enter the IP address your email is sent from, or your sending domain. GuardYak looks it up on the common spam lists.
Select Next, then add the email address that should hear about problems.
Select Review, check the summary, and create it. The new check joins your list, and GuardYak starts checking on its next run.
Steps
Choose the check type ▶ 0:08
In Checks, select + New check, then select Blacklist.
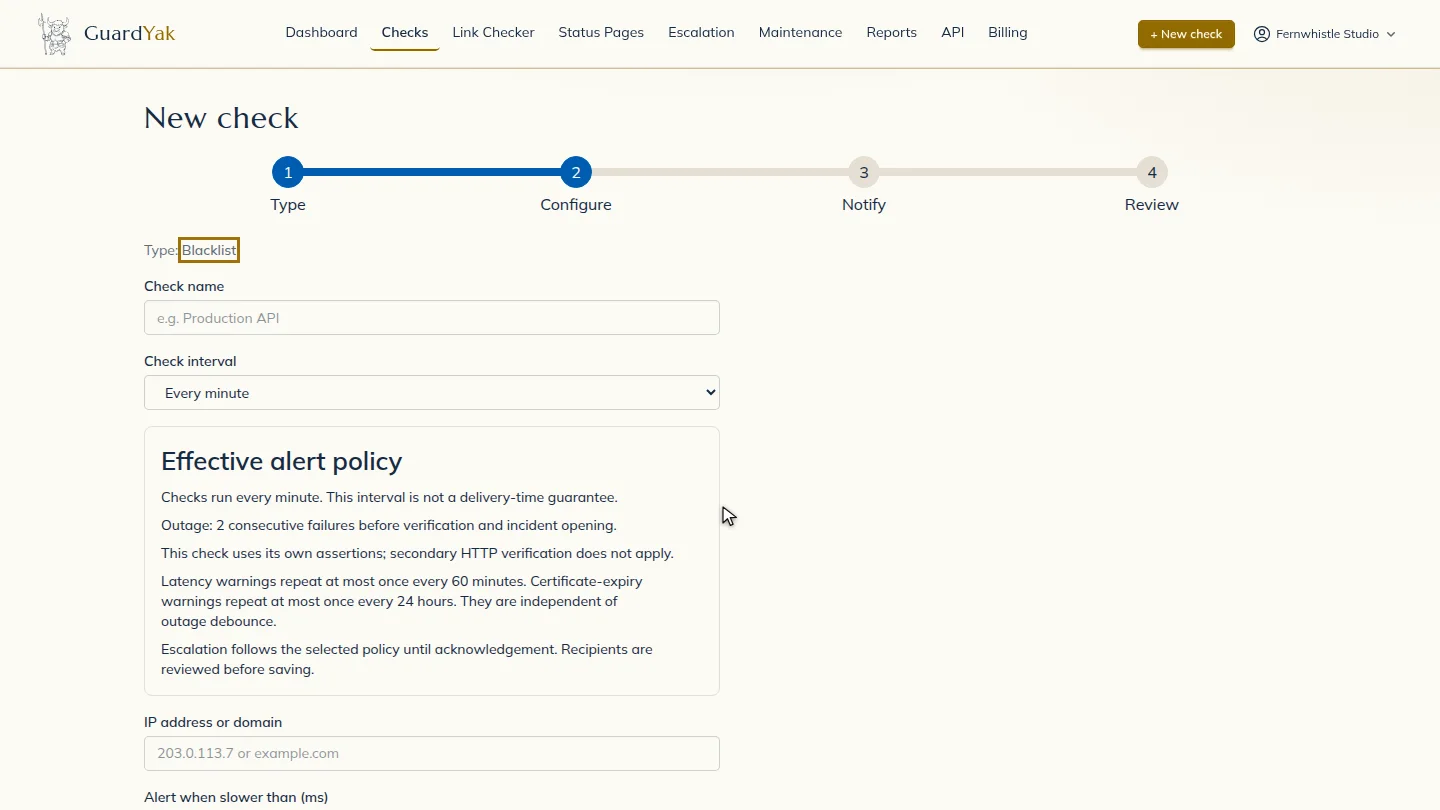
Fill in the details ▶ 0:12
Enter a Check name and the IP address or domain your email is sent from. Every 6 hours is plenty for this kind of check.
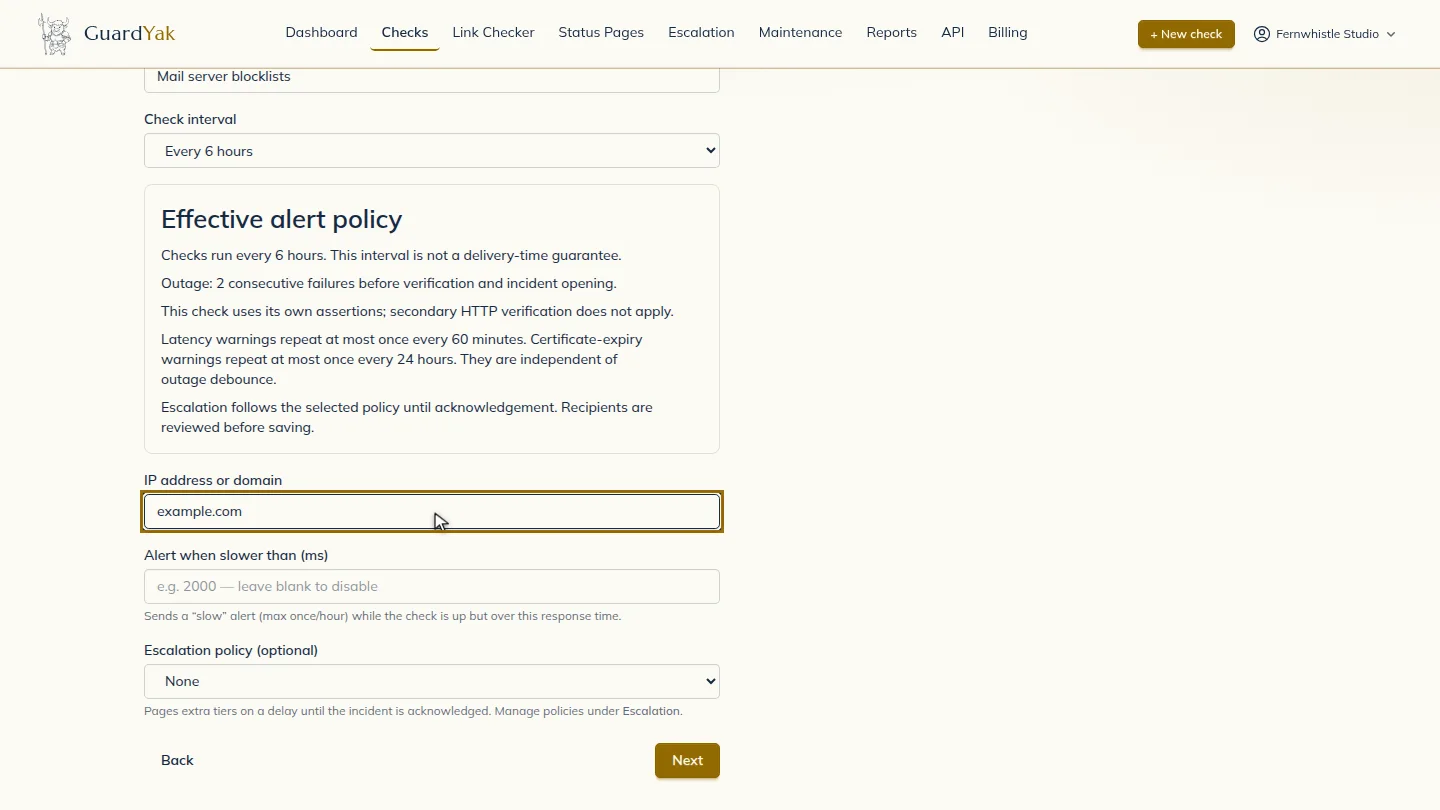
Choose who gets alerts ▶ 0:22
Select Next. Under Address, enter the email that should receive alerts.
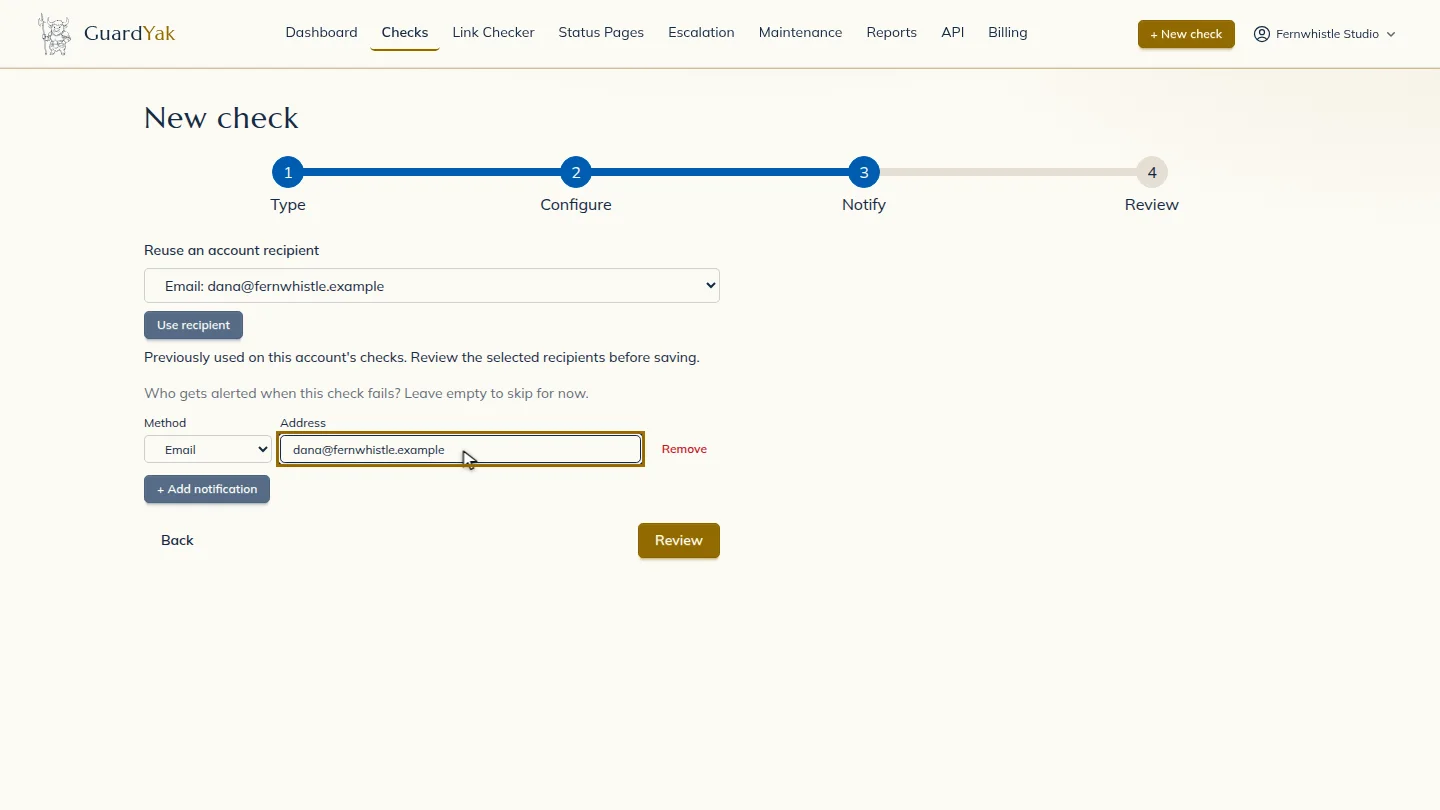
Create the check ▶ 0:27
Select Review, check the summary, then select Create check. The new check appears on Checks.
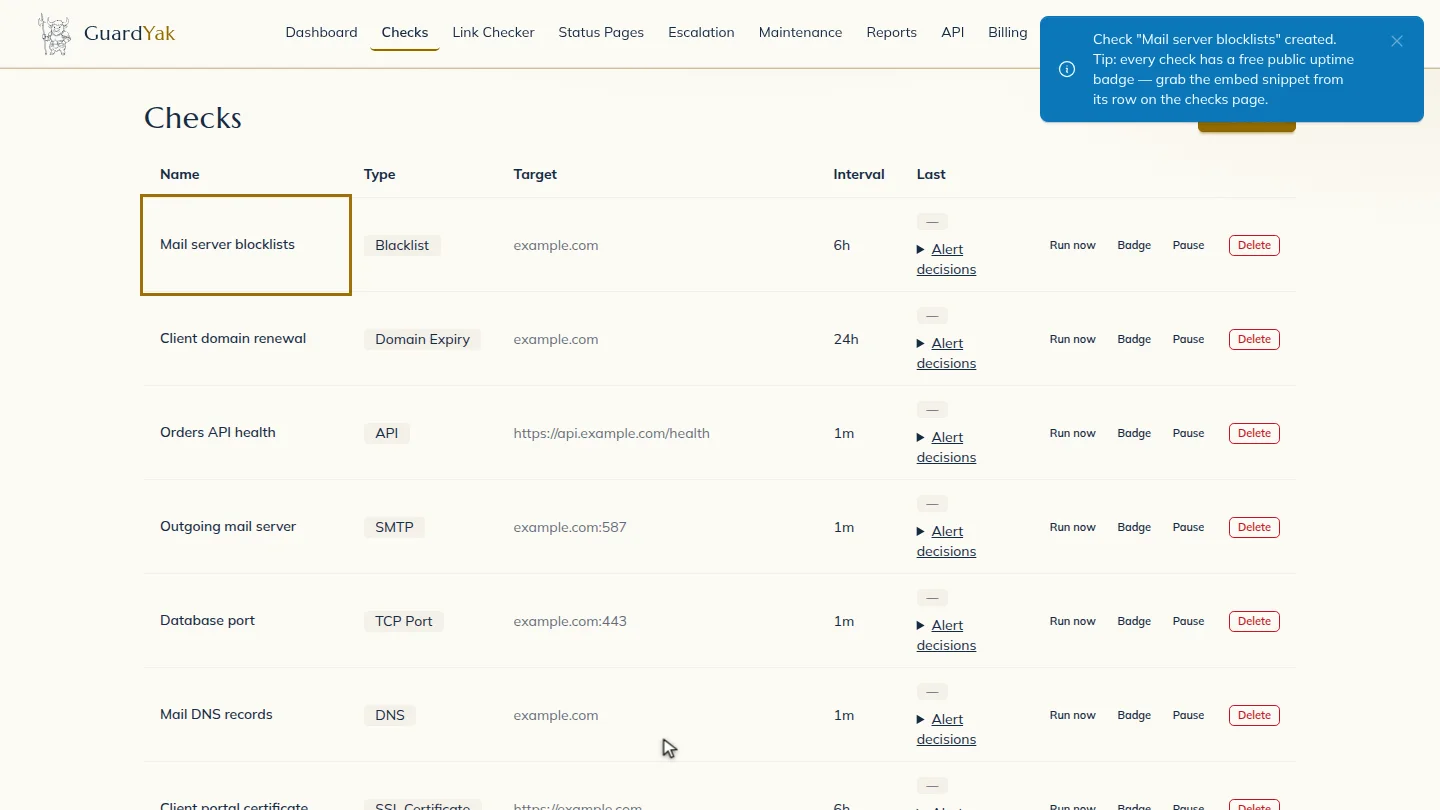
Next steps
Updated 2026-11-03
blacklist monitoring dnsbl check spam blocklist alert email deliverability monitor